Tuesday, August 19, 2014

DIY -How to make simple and easy curtains

Hello beauties,

I have been wanting to get new curtains for some time now, but curtains can be pretty expensive. So, I this past weekend I went shopping for fabric in Downtown Los Angeles Fabric District.  You will find fabric for everything and anything you want.

I purchase 7 yards for $40! Great deal for the design that I wanted :)

Let's start this easy and simple  DIY!

To start, place your fabric on a flat surface (at first I was using my desk, but then decided to place the fabric on the floor because of the space). For my curtain I only measure the width of the fabric, not the length since I didn't want long curtains (I have a toddler and she has pull the curtains down before).
The length that the curtain came in was 64 inches.

Once I measure the width (29in), I then added 5 more inches (34in).

Once you have the measurements, cut the fabric and then iron the fabric. To iron the edge, I started with the length-wise, fold the raw edge over 1/2" and press. Do this down the entire edge of the fabric.


 Fold the fabric over again and iron the second time. I added some pins, this makes it easier when sewing the edge.
Repeat the previous step again, but on the other side of the fabric. Fold 1/2", iron, fold over it, iron, pin then sew.

For the top part of the curtain fold 1/2'', but this time fold over 2" of fabric, iron, pin and sew.

You leave 2" or more -depending on the size of the curtain rod. Just to make sure that there is enough space for when you want to open the curtains.


  For the bottom of the curtain fold 1/2", iron, then fold over 1" of fabric, iron, pin and sew.

And that is it!!!! You are now done with your curtain!!! Now just hang them :)

Finish result:

I hope this was an easy process and would love to see your DIY curtains!
xoxo

Thursday, July 17, 2014

IPSY Glam Bag Review-July 2014 “Sensationally Sunkissed”

Hey guys!
This is my 3rd month with IPSY and I will be doing a review with the items that I got on my ipsy Glam Bag for the month of July.

What is IPSY? ipsy is a $10/month subscription Glam Bag and it sends its members 4-5 deluxe samples and full sized beauty products. Each month you will get a theme bag with the beauty products.

This months theme is "Sensationally Sunkissed" and what a great theme for the summer!


These are the products that I got on my Glam Bag: Sexy Hair, Pop Beauty, Pixi Beauty, Hang Tan and Bare Minerals.

When I open my bag and saw the Sexy Hair bottle I was excited! After all, it is a Soy Renewal Beach Spray Conditioning & Texturing Spray that "Creates beachy undone texture that looks and feels like you’ve spent a day at the beach. Contains argan oil which helps nourish, protect and heal hair damage." 
I follow the instructions to spray on damp hair, but boy, oh boy. As soon as I sprayed it on my hair I felt a burning sensation on my scalp, then it starting itching for a few minutes. I let my hair air dry. This product makes my hair look dry and damage. I was hopping to like this product since I try not to put to much heat on my hair during the summer. 
I try the product again this morning with my hair dry. The result, it does give volume to my hair but it also makes it tangle too too much.
This is how my hair look after I apply the Sexy Hair to dry hair. 

Not my favorite hair product for beachy hair style. 


During the summer I get a natural tan. I only self tan during the fall/winter when I want to wear a dress or skirt to a party or event. Needless to say, I won't be needing this product for the next few months. But when I do I hope to get "...[a] healthy glow with our organically indulgent dark tanning oil. Rich in vitamins, antioxidants, & exotic plant extracts. Tan naturally!"

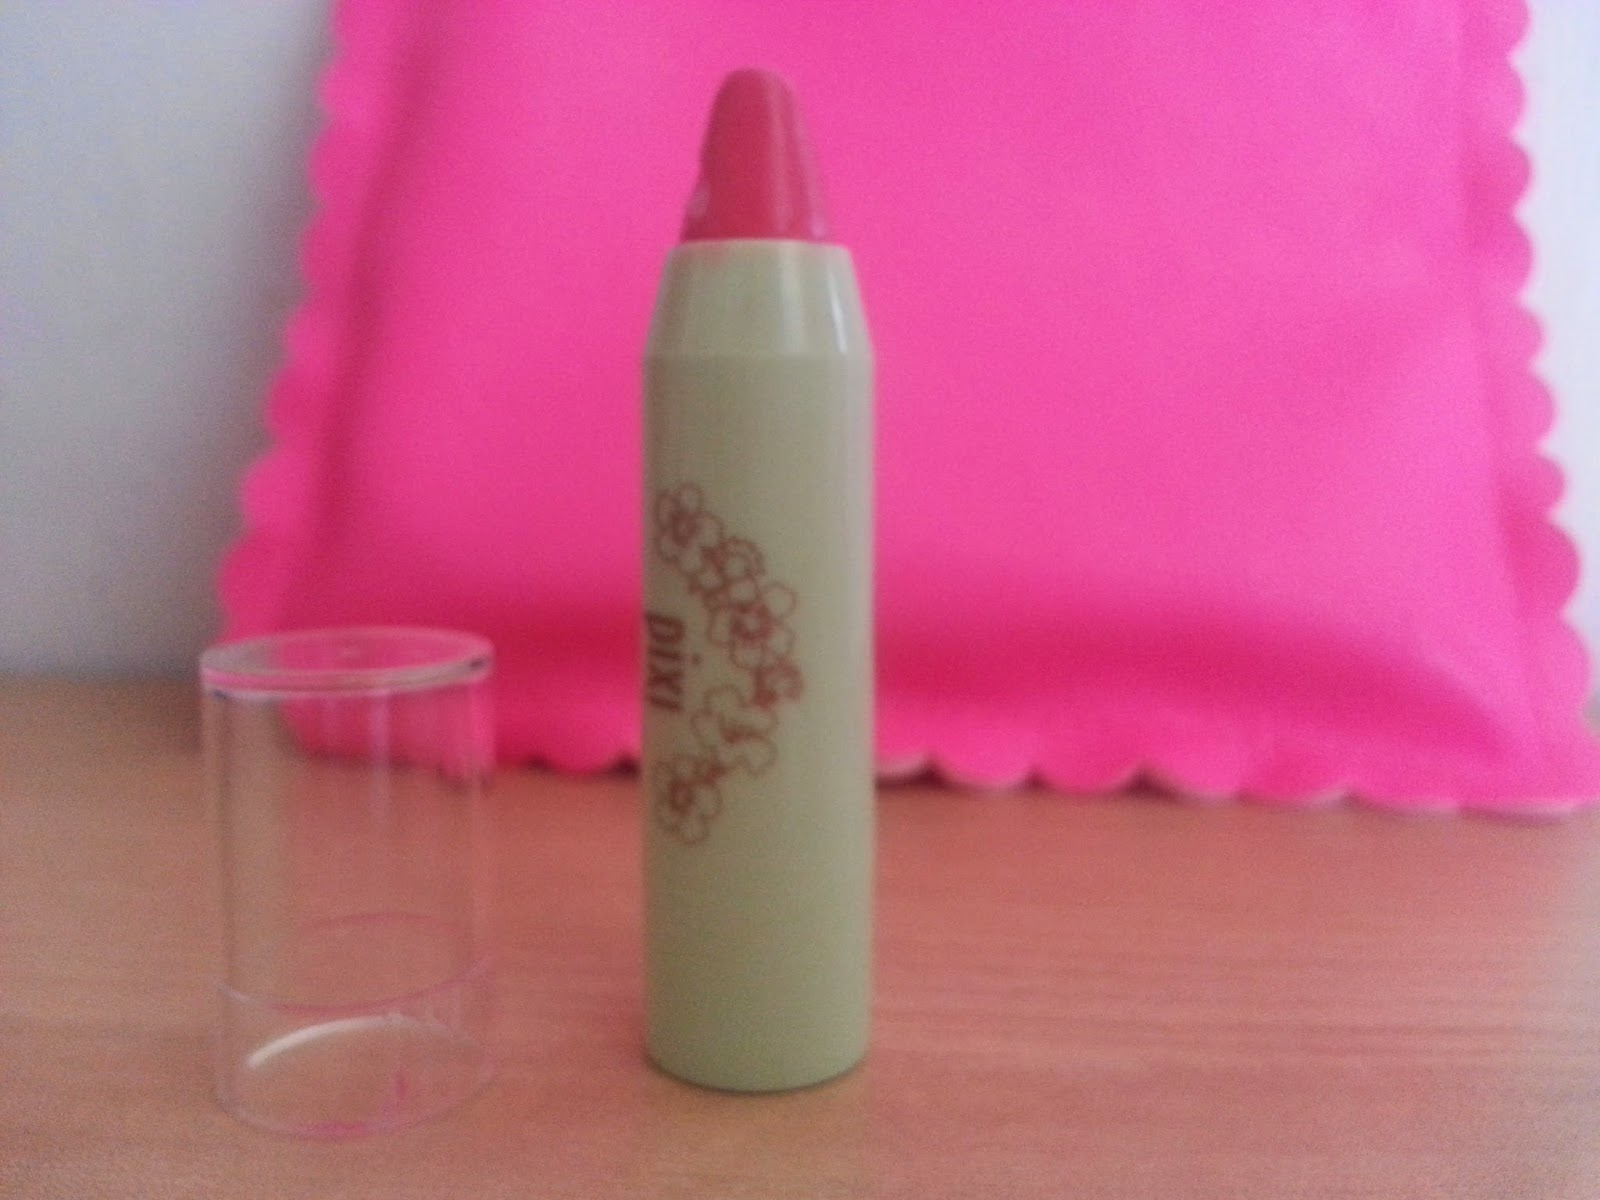
I loved the Pixi Beauty balm! It made my lips feel soft and I love the color! The only downside is that the sample is too small, I will most definitely be buying this product. I wore this by first outlining my lips with NYX Pinky lipliner, then apply the Pixi Beauty Pretty Pink balm.


This bronzer is great! You can apply a little bit for just a soft touch or go more glam! The POP Beauty Sunkissed Bronzer gives a radiant enhancing bronze glow.

I'm wearing the POP Beauty Sunkissed bronzer on my cheekbones, the Pixi Beauty balm on my lips, on my eyes the Bare Mineral cream eyeshadow and on my hair I apply the Sexy Hair Soy Renewal Beach Spray.

What so you guys think of this months Ipsy Glam Bag Sensationally Sunkissed?
Love your items, dislike them?
Tell me all about it on the comment section below!


Tuesday, July 8, 2014

DIY Name Center Piece for Birthday Party

Hey guys! I made this DIY project as the center piece for my daughter's birthday party. I wanted something to standout, something different and easy to do without spending too much money. All the materials can be purchase at any local craft store.

Materials:
-Styrofoam letters
-Styrofoam base
-acrylic paint (theme colors)
-glitter (theme colors)
-paint brush
-hot glue gun
-hot glue gun sticks
My daughters's first birthday party theme was Hello Kitty, and I was so lucky when I saw that my craft store had styrofoam of Hello Kitty. My plan was to only have her name and age number on the project, but with the Hello Kitty styrofoam it was better since it was the them.

The first step of this project is to paint the letters and number. I used lavender, green and pink colors. Place newspaper (or any paper that you won't longer need) to protect your table from the acrylic paint. Let it dry 20-30 minutes. Add a second coat to the letters, but this time add the glitter to the letters (paint one letter at a time, add glitter). 

Before gluing the letters put them on the styrofoam base to see where exactly you want them to go. Do you want the letters in a straight line, in a arc, vertical, horizontal? 


Place the letters on the styrofoam base using the hot glue gun -one letter at a time. Hold the letter 10-15 seconds, so the glue can set. 

Since, I like how the first project came out I did it again for my daughter's 2nd birthday. The colors that I use for this project are purple, hot pink and orange, it was Dora the Explore theme this time. 


Hope you guys like this DIY project. If you did this DIY center piece let me know!